Hey everyone, hope you’ve had a good week!
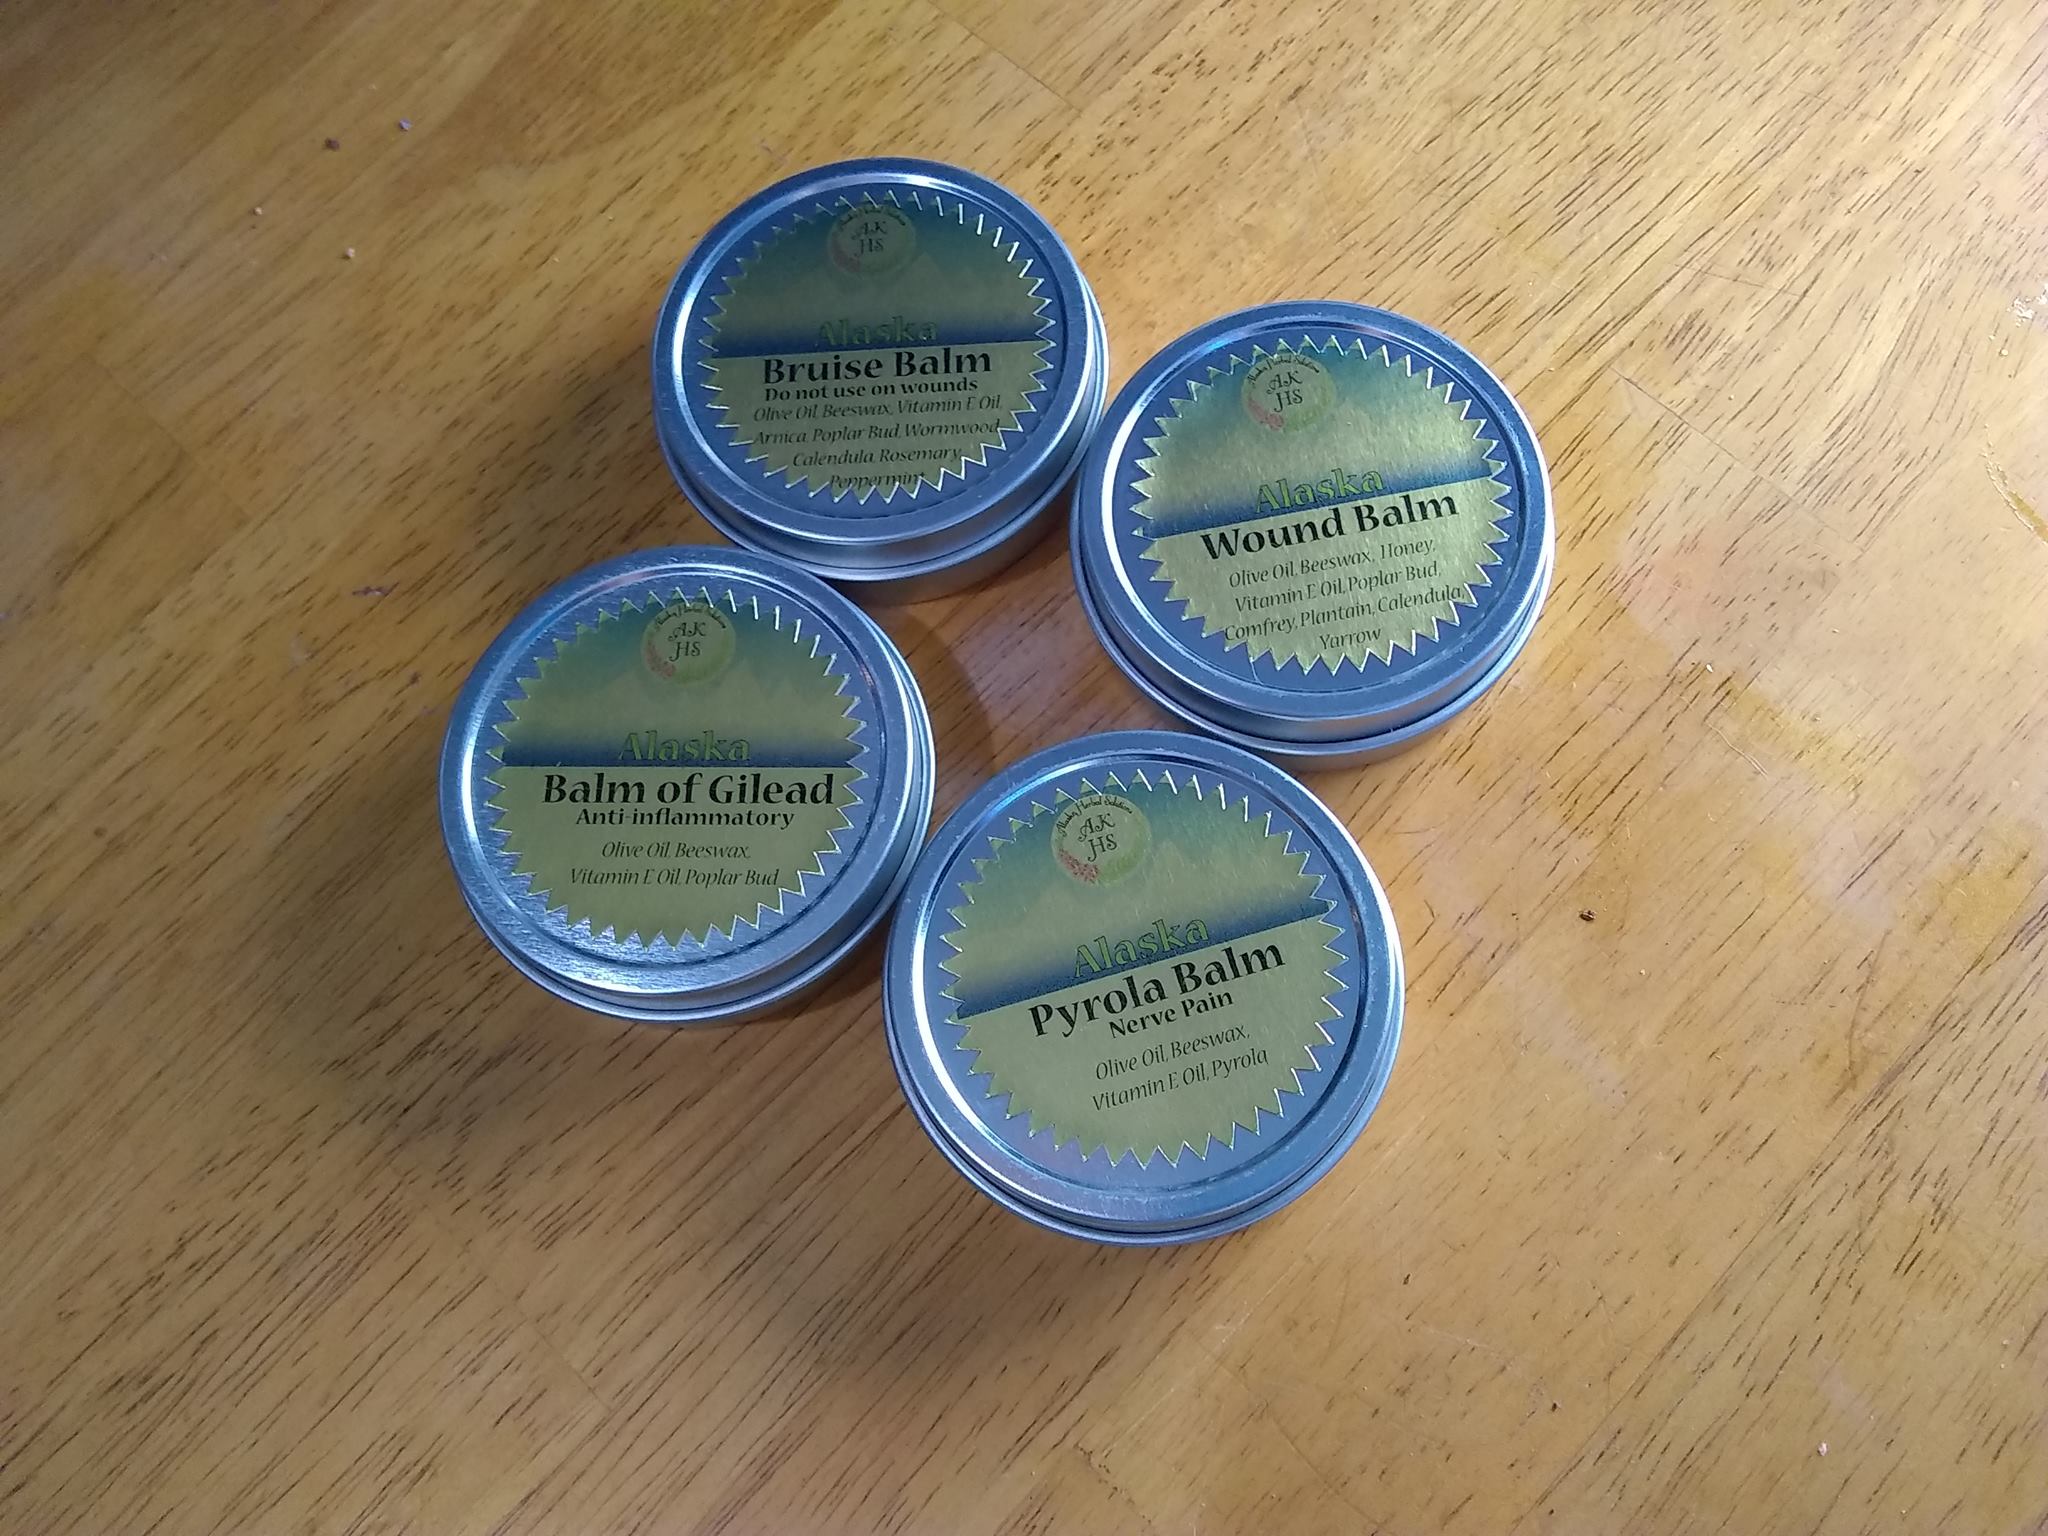
Last week we went over how to infuse oils using the cold method. What are you supposed to do with the infused oils? You can use them as is, however this will not last very long – a couple of months if you used olive oil as your carrier oil. A more popular method, which can be kept up to two years, is making a balm out of it.
If you don’t have time to make a balm, you can purchase some at my store!
Side Note
You may have noticed that I use a mixture of grams and cups. Using grams is more accurate as a gram is way less than an ounce (~29 grams = 1 ounce), so you can be more precise. Cups versus milliliters doesn’t seem to make a different and I am more used to it.
Anyways, let’s get to it!
Things you’ll need
- Double boiler (you can also make one yourself by putting enough water in a pot then put a heat safe bowl on top, which is what I personally do)
- Infused oil – however many cups you want to make
- Vitamin E oil – ¼ teaspoon per cup of infused oil
- Beeswax – I prefer the pastilles as they melt easier and are less work in general. Well worth the slight extra cost. You need 29 grams per cup, but if you want a more firm balm, you can go up to 75 grams
- Stirring spoon
- Measuring cup
- Small spoon
- Measuring spoon
- Containers for the balm
- (Optional) Wax paper underneath the balm containers

Step 1: Bring the water to a simmer. You don’t want it to boil as that will ruin the oil.
Step 2: Put the oil in the top bowl and let the oil warm up. If you have a candy thermometer, 140 degrees is what you want to keep it below. If you don’t have one, you can occasionally test the heat by dripping a little oil onto your hand. If it’s just slightly too warm you’re fine. However, everyone’s heat tolerance is different so if you’re not sure, get a candy thermometer.Step 1: Bring the water to a simmer. You don’t want it to boil as that will ruin the oil.
Step 3: Add the Vitamin E oil. Vitamin E oil is not only good for your skin, it is also a preservative.
Step 4: When the oil is warm enough, add the beeswax. Add a little at a time so that it doesn’t get all stuck together.
Step 5: Stir while the beeswax is melting. This helps make the mixture be smooth and even.
Step 6: When the beeswax is melted, take a small spoon and put it in the freezer. When frozen, check to see if it’s the consistency you want.
Step 7: If it’s the consistency, pour it into the containers you want using the measuring cup. This can get messy, that’s why I put wax paper underneath the containers for easy clean up.
Step 8: Store in a cool dark place for up to two years. Enjoy your herbal balm!

I hope you found that helpful! Next week we will talk about carrier oils, so keep your eye out!Herbal balms can be made for any skin ailment like bruises or scrapes. They can also be used as a general moisturizer as beeswax helps keep in moisture which is desperately needed in Alaska in the winter. There are even a couple of herbal balms that can be made for aching joints or nerve pain.
This recipe can also be used to make lip balms. You can use the small round tins, but I prefer to use the stick containers. You’ll want to use a little more beeswax so it doesn’t melt in your pocket either way.
Remember, if you don’t have time to make a balm, you can purchase some at my store!


